
Last year I did a bit of stuff with the older two about bees and their importance and the need for wild flowers to help attract them. I don’t want the children to be fearful of bugs and the such and I want them to understand the importance of the creatures and the nature that we interact with, so today we made a wild flower spring picture.
With the start of spring and the (much) better weather we have been seeing more and more bees and the children have remembered that bees and flowers are needed for pollination. They have both been quite keen to tell me about the seeds we are planting and how they will grow into lovely flowers for the bees to fly to.
We have had a really busy week so this morning I set up a large piece of paper across our table and got a few bits and piece out for them to create a wild flower spring picture.
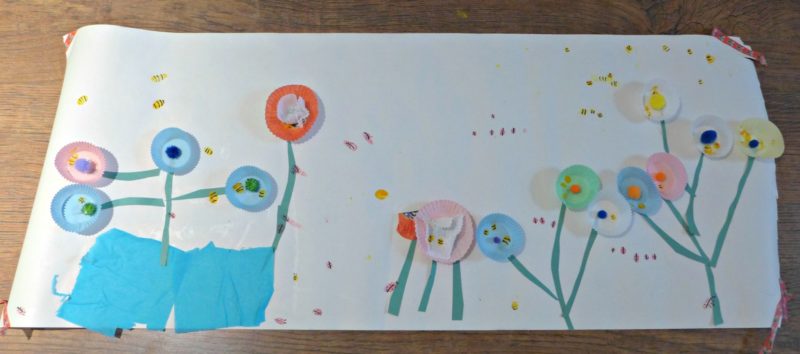
This occupied them for a decent amount of time, even when my parents popped round they still carried on with their creation.
Once they had finished adding in their flowers we added some fingerprint bees and ladybirds using paint. Once these had dried I used a black pen to draw the bees’ stripes on and the ladybird’s spots.
Mr D created a pond on his side of the paper and talked about how the flowers would reflect into the water (there was a lovely discussion here about this).
To create your own wild flower spring picture you will need: (affiliate links included below)
- A large roll of paper – I use one similar to this one but we buy from Ikea
- Fairy cake cases in different colours and designs
- Green paper cut into stem shapes
- Assorted colour pom-poms
- Yellow and red poster paints
- Black pen (sharpies tend to work the best)
- Glue sticks
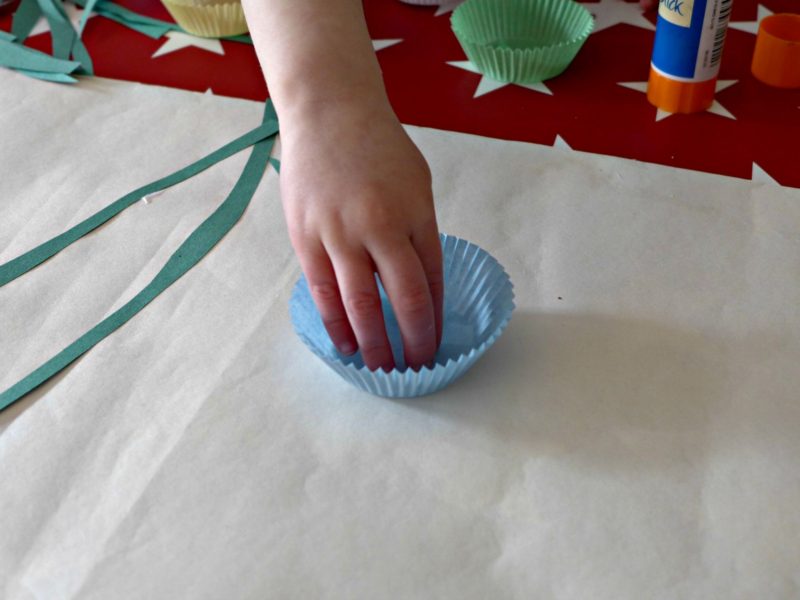
We started by cutting the green paper into strips and laying them out to make stems for the flowers. The children then glued these in place, Miss E found it a bit fiddly so I helped with her side of the paper to do this. They then put a splodge of glue at the end of the stems to add the fairy cake cases.
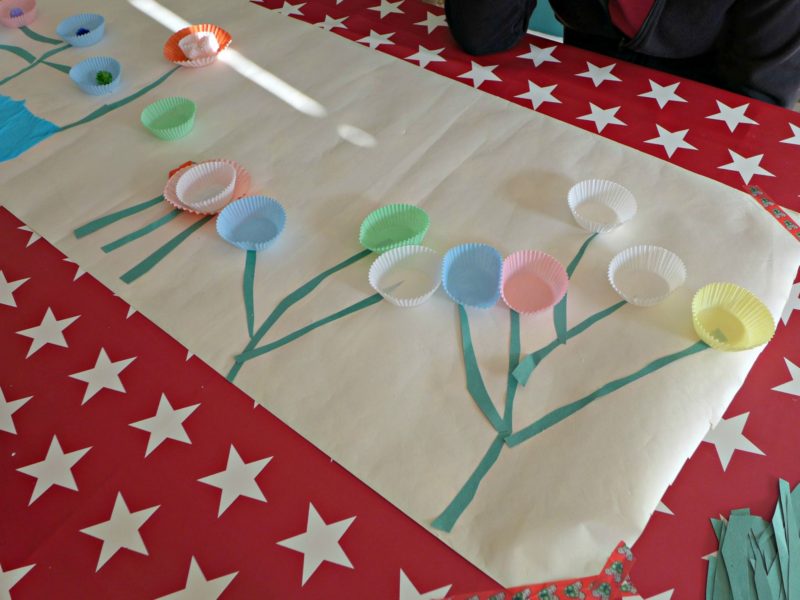
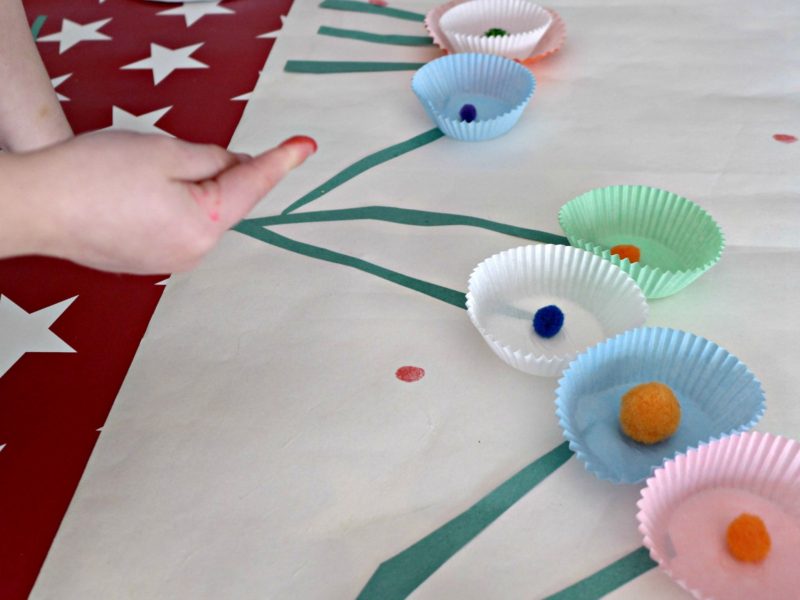
Once they were happy they had enough wild flowers we added another splodge of glue in the centre of the case to add the pom pom – the children chose sparkly pom poms for this bit. Then the best bit was adding the fingerprint ladybirds and bees – and once they had dried I added in the detail.
I think we will revisit this again for the autumn and make a tree picture as this created such a lovely end result. I think that this would be a lovely group activity to do with a larger group of children to create something together. You could also add in some spring animals like sheep (using cotton wool balls) or chicks and rabbits.


This is a great idea. They will really into it when we arrived.
What a cute idea! Sounds like the kids really enjoyed this
That’s lovely. I have some seeds if you would like the, x
This is a cool idea. I’ve got so many left over cake cases to use up x
We have been making these with the kids at pre-school 🙂
This is so cute, I love doing arts and crafts with my nieces and nephews