I’ve always enjoyed crafting and being creative, and, in recent months, I have seen lots of Kinusaiga art on my social media feeds. I have been desperate to try this craft as it looks lovely and effective. It also felt like something I’d be able to so with my children.
I saw some workshops by a local artist Emma, and it felt like this was a good opportunity to try out Kinusaiga under the guidance of someone more experienced without having the outlay costs of purchasing the materials and figuring out how to get started.
Booking and Arriving at the Workshop
Booking was super straight forward and at a cost of £30 for a three hour workshop, I felt this was good value. I think I saw this shared on Instagram and from there I found Emma’s site and booked on. Confirmation emails came through and Emma sent a personal reminder a day or two before with instructions of how to enter the workspace as well as where to park. This was super helpful was the workshop is in an old mill which is home to a variety of different users. The 1843 Gallery how it’s own secure entrance where Emma met us and is self contained within the mill, which has been restored beautifully.
When we arrived Emma took us to her workspace and we took a seat and were able to get a drink if we wished before having a chat as we awaited the other participants.
Getting Started
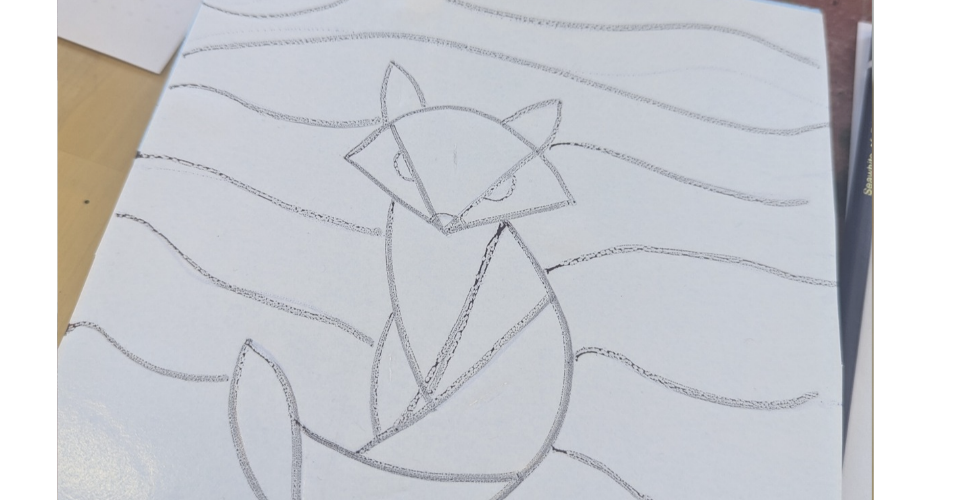
The workshop was great fun, Emma talked us through the concept of Kinusaiga and had printed some ideas for us. We had some paper to sketch out ideas before transferring to the board. This took a little time, to make sure we were happy with our designs and the proportions of the design as we transferred them to the board.
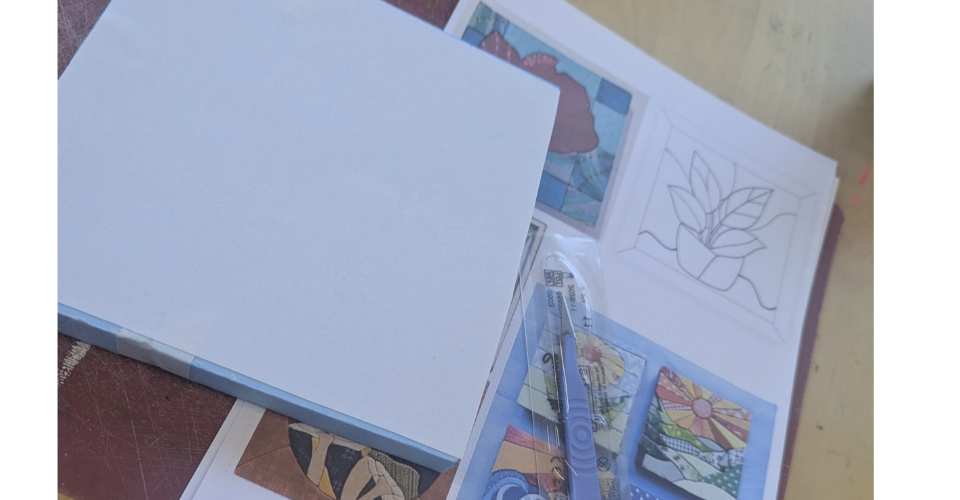
Once we had transferred the design it was time to cut the lines into the board. This seems a bit daunting at first, but once you get going it’s quite easy. Taking your time but moving with confidence in definitely key. It does make your arm ache after a little time.
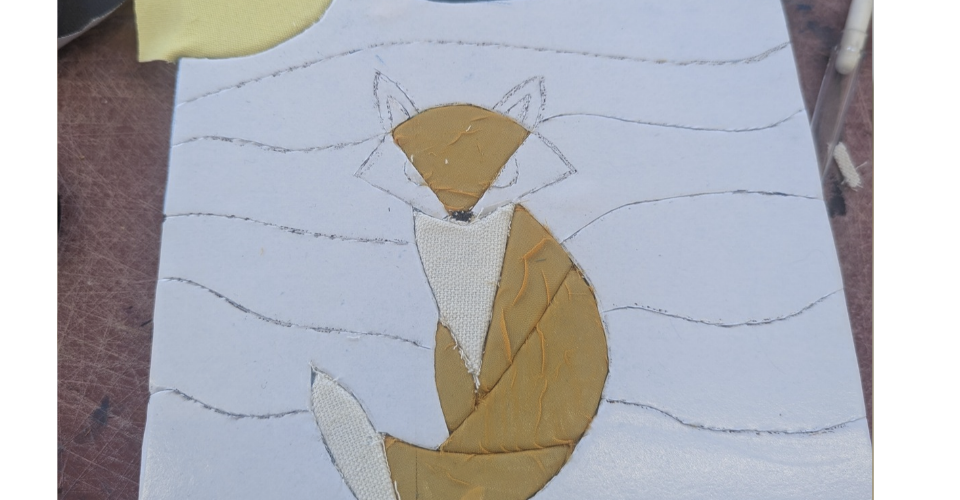
Once everything was cut then it was time to choose the fabrics. Emma had provided a wide variety of fabrics for us to utilise. I picked up a few of the ones that I thought I’d make use of and started to cut and tuck them into the board.
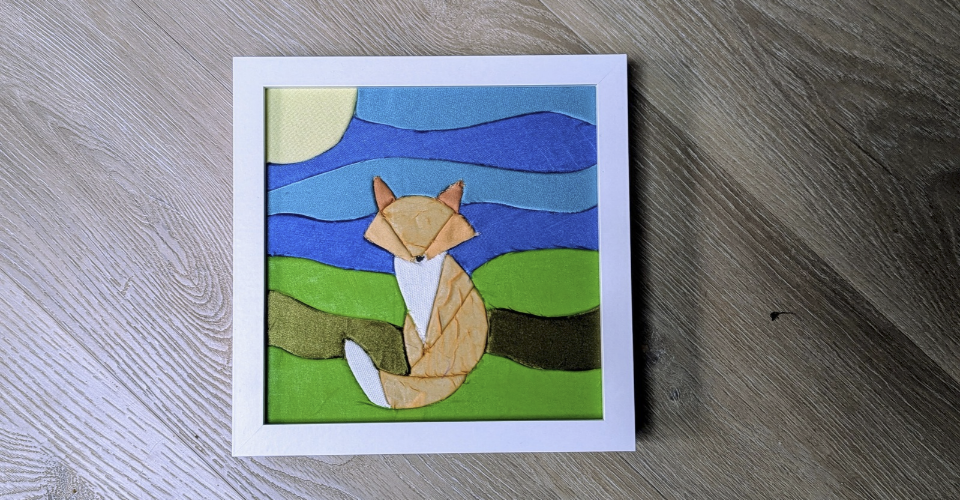
Its worth taking your time to choose the fabrics here, and using ones that are thinner is much easier. It is possible to lift fabric off when it’s been placed and tucked, but it isn’t easy… I had used a colour I wasn’t keen on in the end for the sun, it didn’t quite work how I have anticipated so I lifted and replaced with the yellow in the final image.
Finishing Up
I finished my main kinusaiga so Emma gave myself and another participant another smaller set to work on. I wasn’t sure what to do for this one so opted for a small dragonfly instead. I was pleased with how this turned out as it was a super quick sketch and idea.
I really enjoyed this workshop and Emma was the perfect host and facilitator. Generous with her time, skills and materials and I will definitely keep an eye out for future workshops she runs.
My younger two children are really interested in the Kinusaiga and how it was made and have both expressed an interest in trying it out, so it might be an activity next week to do over the half term break, although I think I will do the cutting for them due to the super sharp blades that are used.
You can learn more about Emma and her workshops over on her website here.

